
Is someone asking you for a “wet signature” and yet they still want you to scan the document and email it to them? Are they asking you to print-sign-scan-email a document? What a waste of ink, paper, and most importantly, time! Ideally we could do this all digitally. Ideally I could add an image of my signature to a PDF and then run it through some kind of “scanify” processing to rough it up a bit and make it look scanned. I’ve come up with a DIY solution using free tools to do exactly this.
Why not use an online tool?
If you search for “make pdf look scanned” you’ll notice that all the top results are online tools that invite you to upload your PDF and promise to spit out a roughed up PDF that looks scanned. But can you trust them? Does your PDF contain banking information, medical details, or other sensitive information that you definitely wouldn’t want to share with just anyone?
Identity theft a legitimate concern these days and I certainly don’t want to share my PDFs with these faceless online tools. This is the perfect example of a situation where desktop software is better than cloud-based software.
Adding a Signature to a PDF using Preview app in macOS
Preview is an app that’s included with macOS and is great for filling out PDFs and adding signatures. I’ve been using it for years for this.
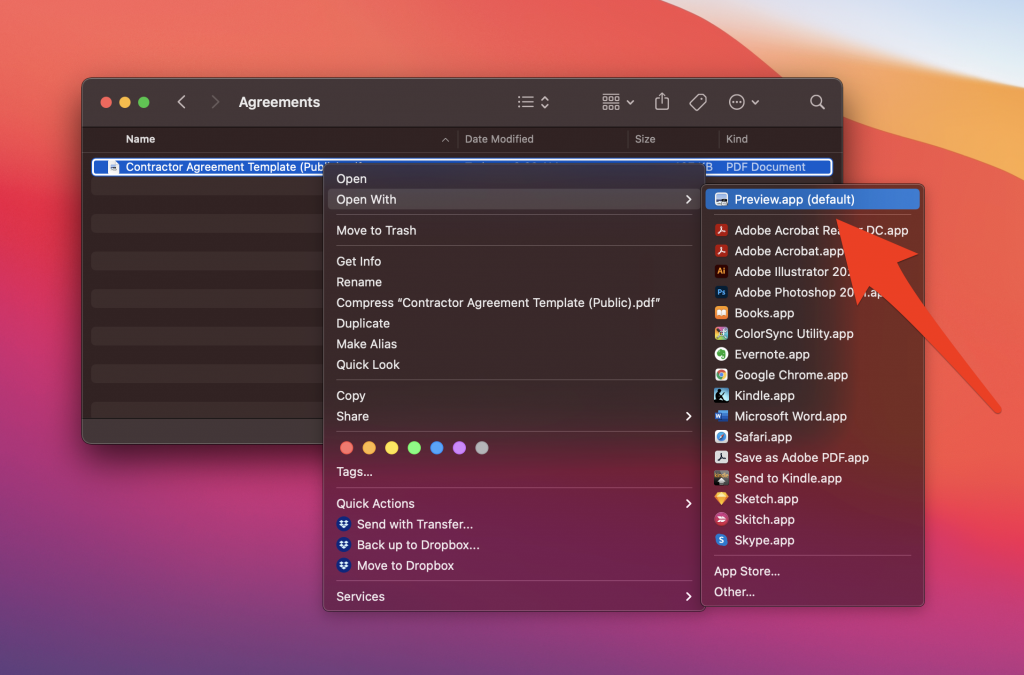
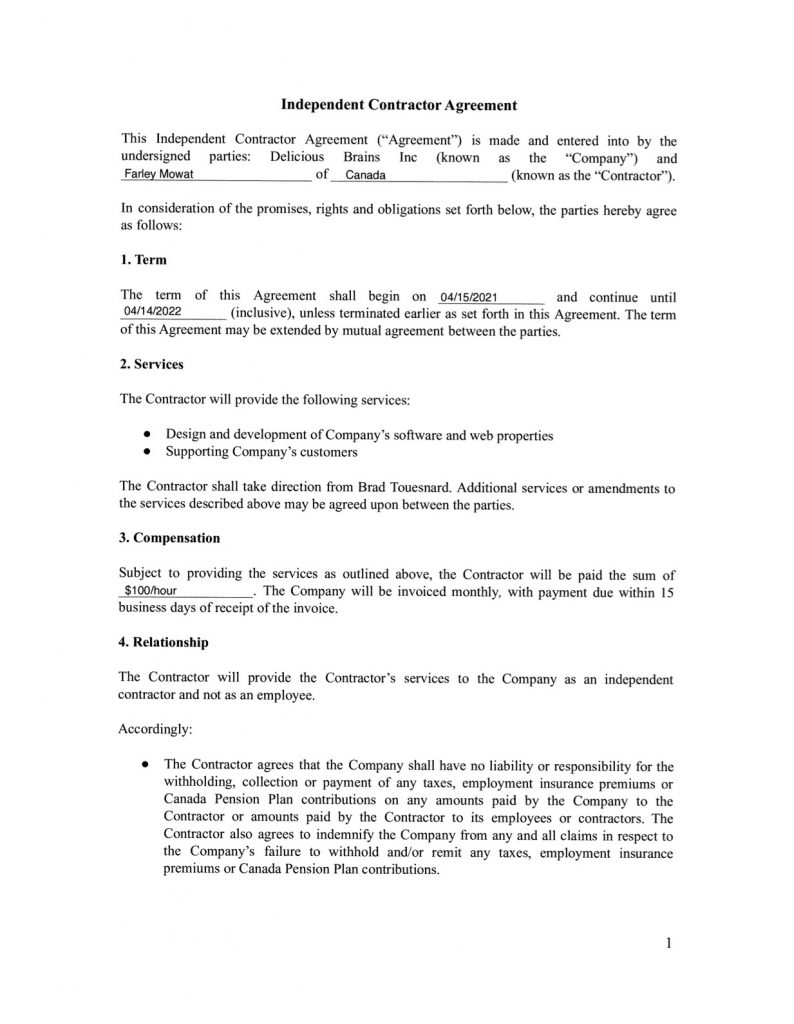
Start by opening the PDF in Preview app. If Adobe Acrobat has taken over as your default PDF app, you’ll need to right-click, go to Open With, and select Preview.app from the list:
If you’d like a copy of the PDF I’m using here, you can download a copy.
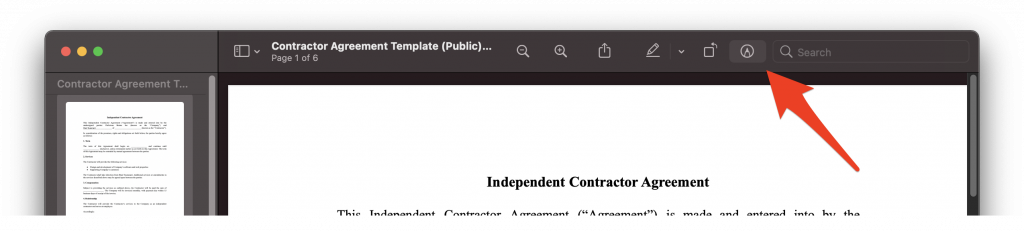
In Preview app, click the Show Markup Toolbar button:
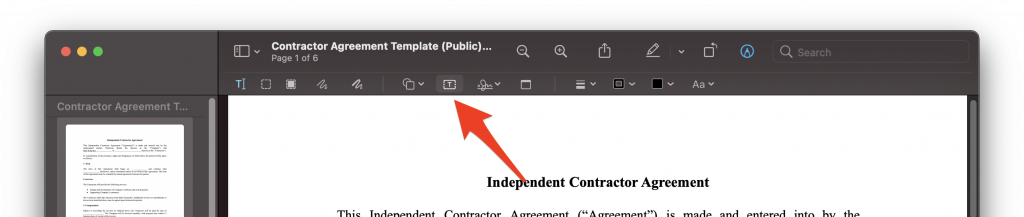
To add text to the PDF, click the text button:
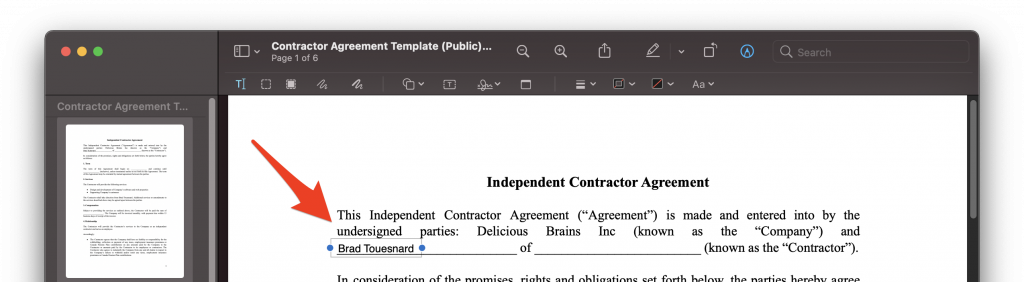
Edit the text and then drag it to where you want it placed:
To add a signature, click the Sign button:
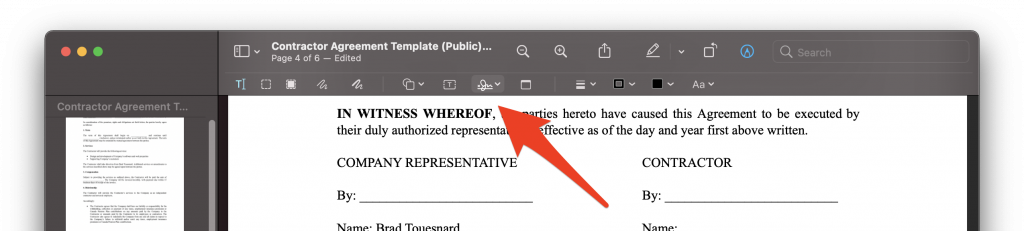
You are then prompted to add your signature:
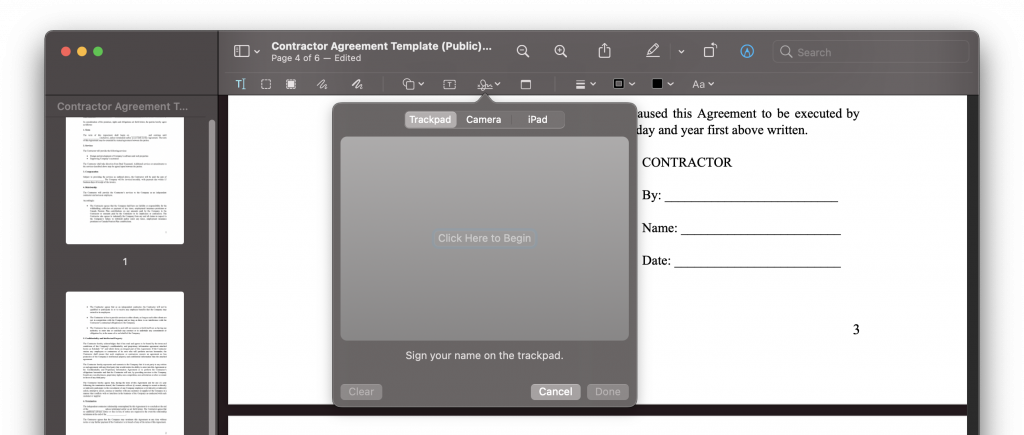
I tried signing using the trackpad and iPad options but found the results pretty disappointing. I found a big difference between my signature made these ways vs one made with a pen and paper. For best results, I recommend using the Camera option, where you hold up a piece of paper with your signature on it to your camera.
You only need to do this once. Once you have your signature added to Preview app, it’s there until you remove it. Now you can click on the Sign button again, click your signature, and it will be added to the PDF for you to drag into place.

(That is not my real signature.)
Installing ImageMagick via HomeBrew
Now that we have a PDF all filled in and signed, we need to scanify it, make it look like it was scanned. For this we need tools.
First, open a Terminal window. (If I’ve already lost you, the rest of this tutorial probably isn’t for you, unless you’re keen for a lot of learning.)
If you don’t have HomeBrew already installed on your Mac, install it now:
/bin/bash -c "$(curl -fsSL https://raw.githubusercontent.com/Homebrew/install/HEAD/install.sh)"Install ImageMagick via HomeBrew:
brew install imagemagickNow let’s see if ImageMagick is installed:
convert -vIf you get a ton of output and scrolling up you see something similar to the following, then you have ImageMagick successfully installed.
Version: ImageMagick 7.0.10-21 Q16 x86_64 2020-06-23 https://imagemagick.org
Copyright: © 1999-2020 ImageMagick Studio LLC
License: https://imagemagick.org/script/license.php
Features: Cipher DPC HDRI Modules OpenMP(3.1)
Delegates (built-in): bzlib freetype gslib heic jng jp2 jpeg lcms lqr ltdl lzma openexr png ps tiff webp xml zlib
Usage: convert [options ...] file [ [options ...] file ...] [options ...] file

Image Settings:
  -adjoin              join images into a single multi-image file
...
Scanifying Your First PDF
Now let’s try running our PDF through ImageMagick to rough it up and make it look scanned:
convert -density 300 ~/"Downloads/Agreements/Contractor Agreement Template (Public).pdf" \
-alpha remove -rotate 0.33 -attenuate 0.15 +noise Multiplicative +repage -monochrome \
-compress group4 ~/"Downloads/Agreements/Contractor Agreement Template (Public) Scanned.pdf"
Unless you’ve named the PDF the same as mine (Contractor Agreement Template (Public).pdf) and put it in the same folder (~/Downloads/Agreements/), you will need to modify the two paths of the PDFs before running this command.
Roughing up a PDF is actually a pretty CPU intensive process. My 2019 MacBook Pro wants to take off (fan runs pretty hard) when I run this command on a simple three-page PDF. It only takes 16 seconds to run, but uses a lot of CPU. For larger PDFs, it can take longer and my laptop fan really starts humming.
Anyhow, after running this you should end up with a second, crappier looking PDF. Each page should consist of one big image. If you try select any text, you’ll find out you can’t. Each page should be a little crooked and the text should be a little blurrier.
Using Automator to Add a Scanify option to the Quick Actions menu in Finder
Great, we can now rough up a signed PDF so that it looks like we print-sign-scanned it. But it’s kind of a pain to have to open Terminal app and run commands. Wouldn’t it be nice if we could just right-click a PDF and choose a Scanify option? Turns out we can using the Automator app in macOS.
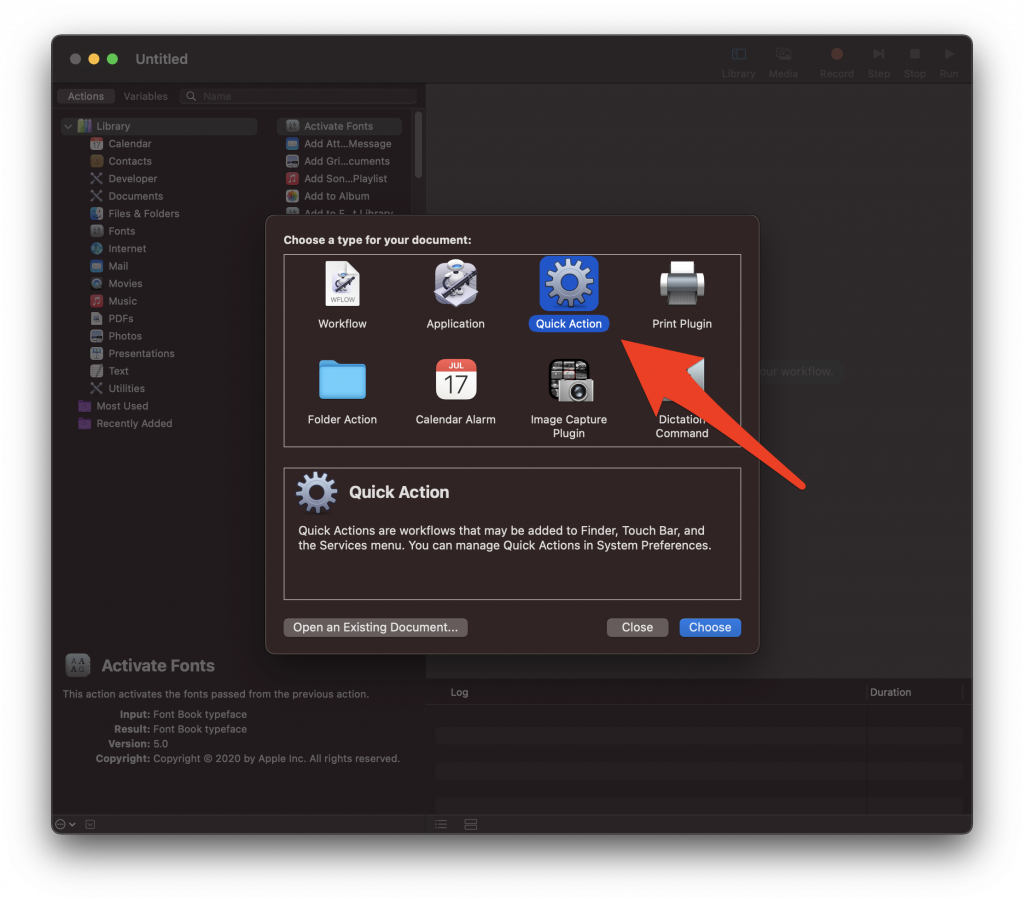
Open Automator app, choose New Document, then select Quick Action, and hit the Choose button:
Update the settings to Workflow receives current PDF files in Finder:
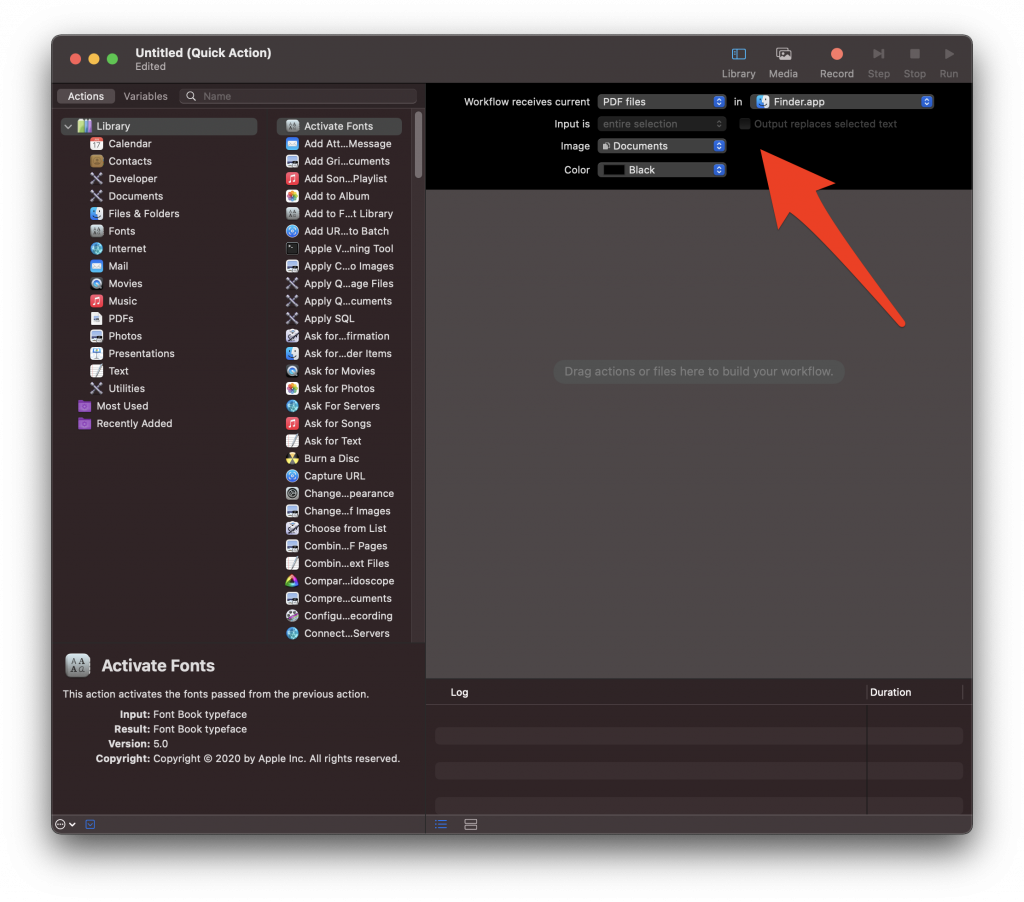
I also like to update Image to Documents, but that’s optional.
Now select Utilities and drag Run Shell Script to the workflow area:
Change the “Pass input:” option to “as arguments”.
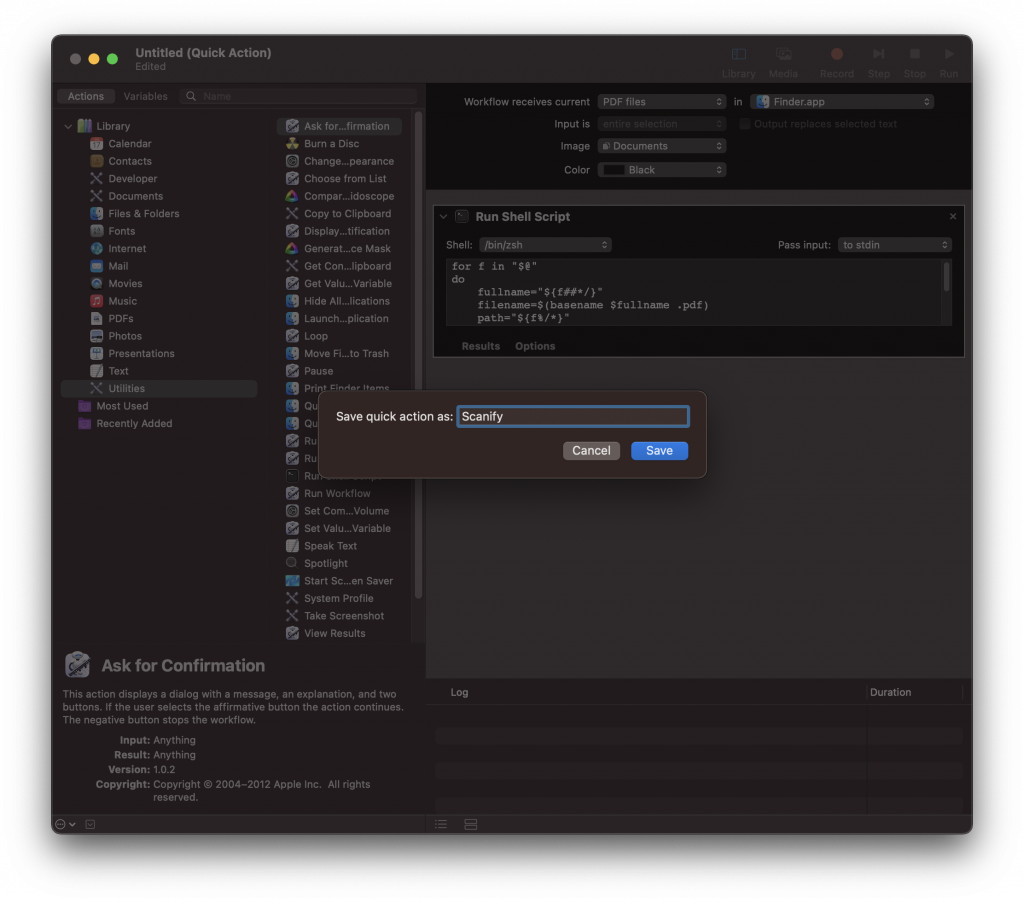
Paste the following shell script into the box:
for f in "$@"
do
	fullname="${f##*/}"
	filename=$(basename $fullname .pdf)
	path="${f%/*}"
	cd $path
	/opt/homebrew/bin/convert -density 300 "$f" -alpha remove -rotate 0.33 -attenuate 0.15 +noise Multiplicative +repage -monochrome -compress group4 "$filename Scanned.pdf"
done
Type CMD-S to save and give it it the name Scanify when prompted:
Now you can run Scanify by right-clicking a PDF in Finder:
How awesome is that? Let me know by leaving a comment below.